

Have you ever had a piece of furniture you didn’t know quite what to do with and were debating on dumping it?
My husband wanted to take this dresser to the dump….. here’s the story: We purchased new dressers for our bedroom from IKEA and gave our old dresser to our daughters to use because it was in much better shape than this one. So this old thing went to the front porch until I could decide what to do with it.
Right before it was about to go to the dump I had the idea to paint it.
This dresser has lived through 3 generations. It was my mother’s when she was growing up and matches and entire bedroom suit that we still have pieces of here and there. I used this same furniture when I was growing up too and then passed it on to my daughters.
Over time, it has gained a few scratches, pen marks, crayon coloring, and broken handles.
This project took two days. However, I’m 8 months pregnant with 4 kids in my house so I’m certain someone can do it all in a day.
First, I removed the handles. Then I cleaned the dresser and the drawer faces really well with a multipurpose cleaner. It was already pretty clean other than some minor “guk” and marks so nothing more was necessary for cleaning. However I would recommend something like “Krud Kutter” if you have a really dirty surface.
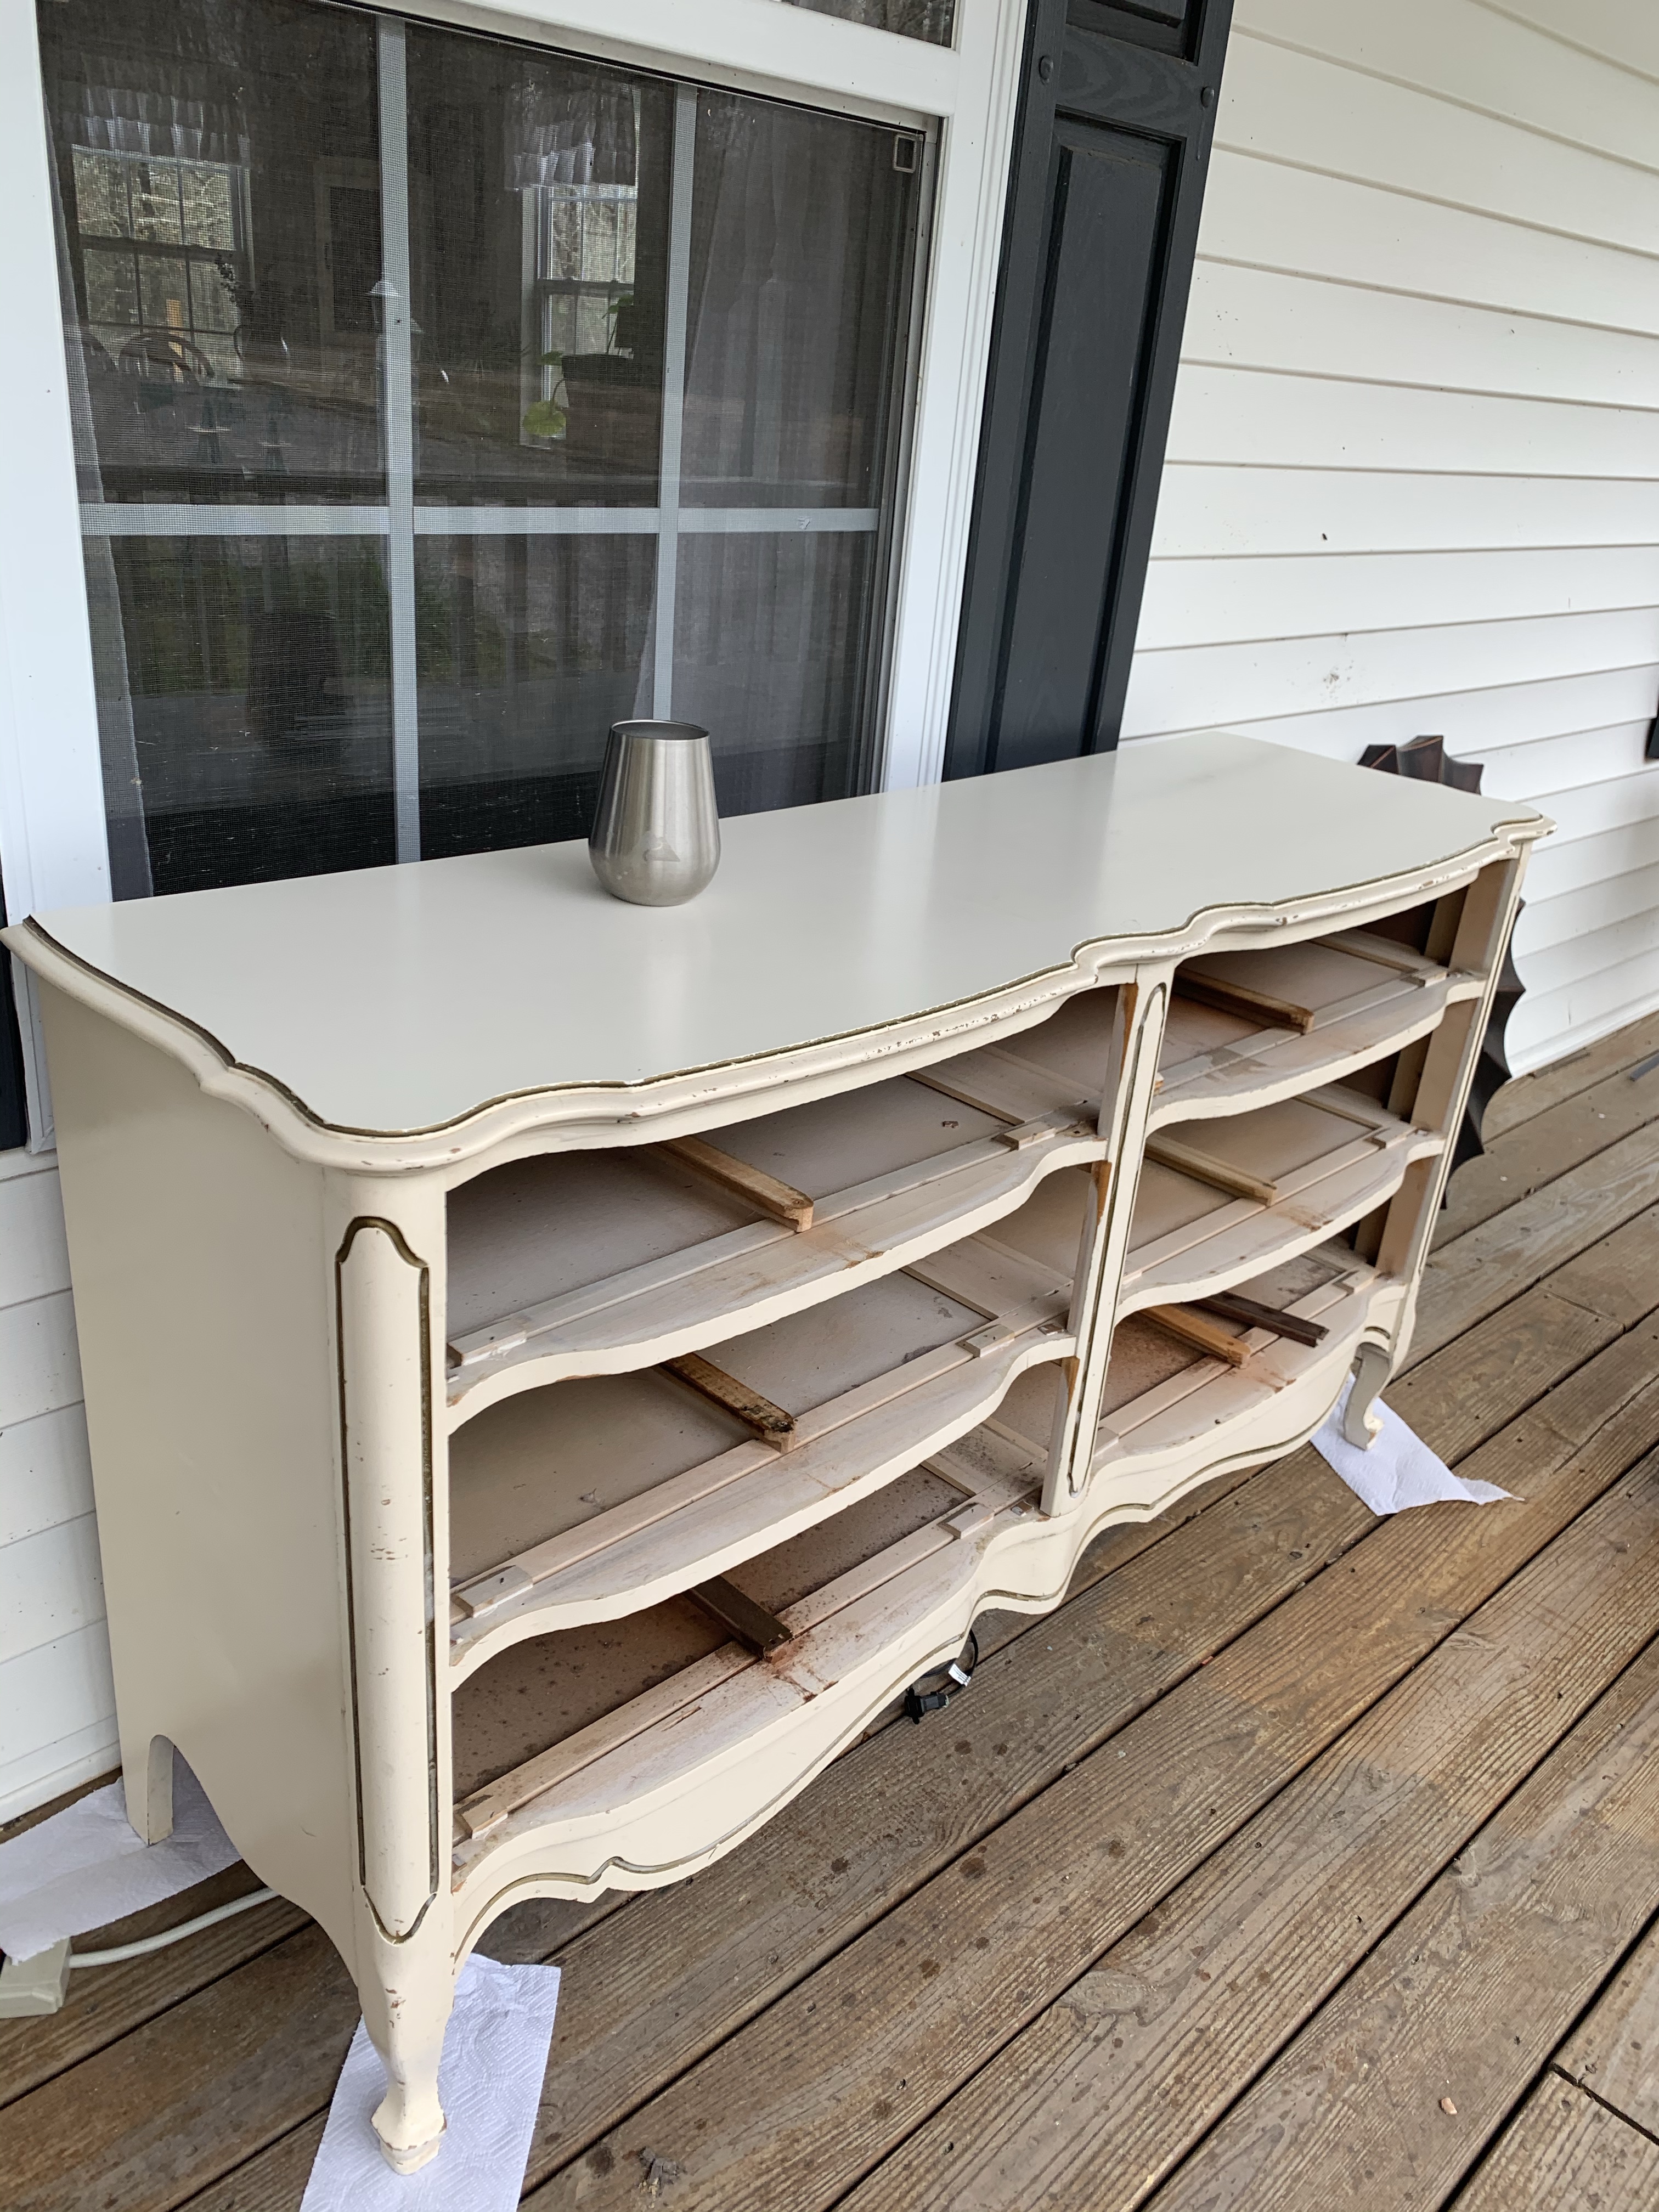

Next, I sanded the dresser with a hand sander. This isn’t as hard as it sounds. I always see where people are posting “no sanding required” projects. My hand sander makes it super easy and since I did this on my front porch there wasn’t any mess! I went over the faces of the drawers and the entire body of the dresser several times to take the old finish off.
Then, I primed the entire thing and drawer faces with KILS paint primer.
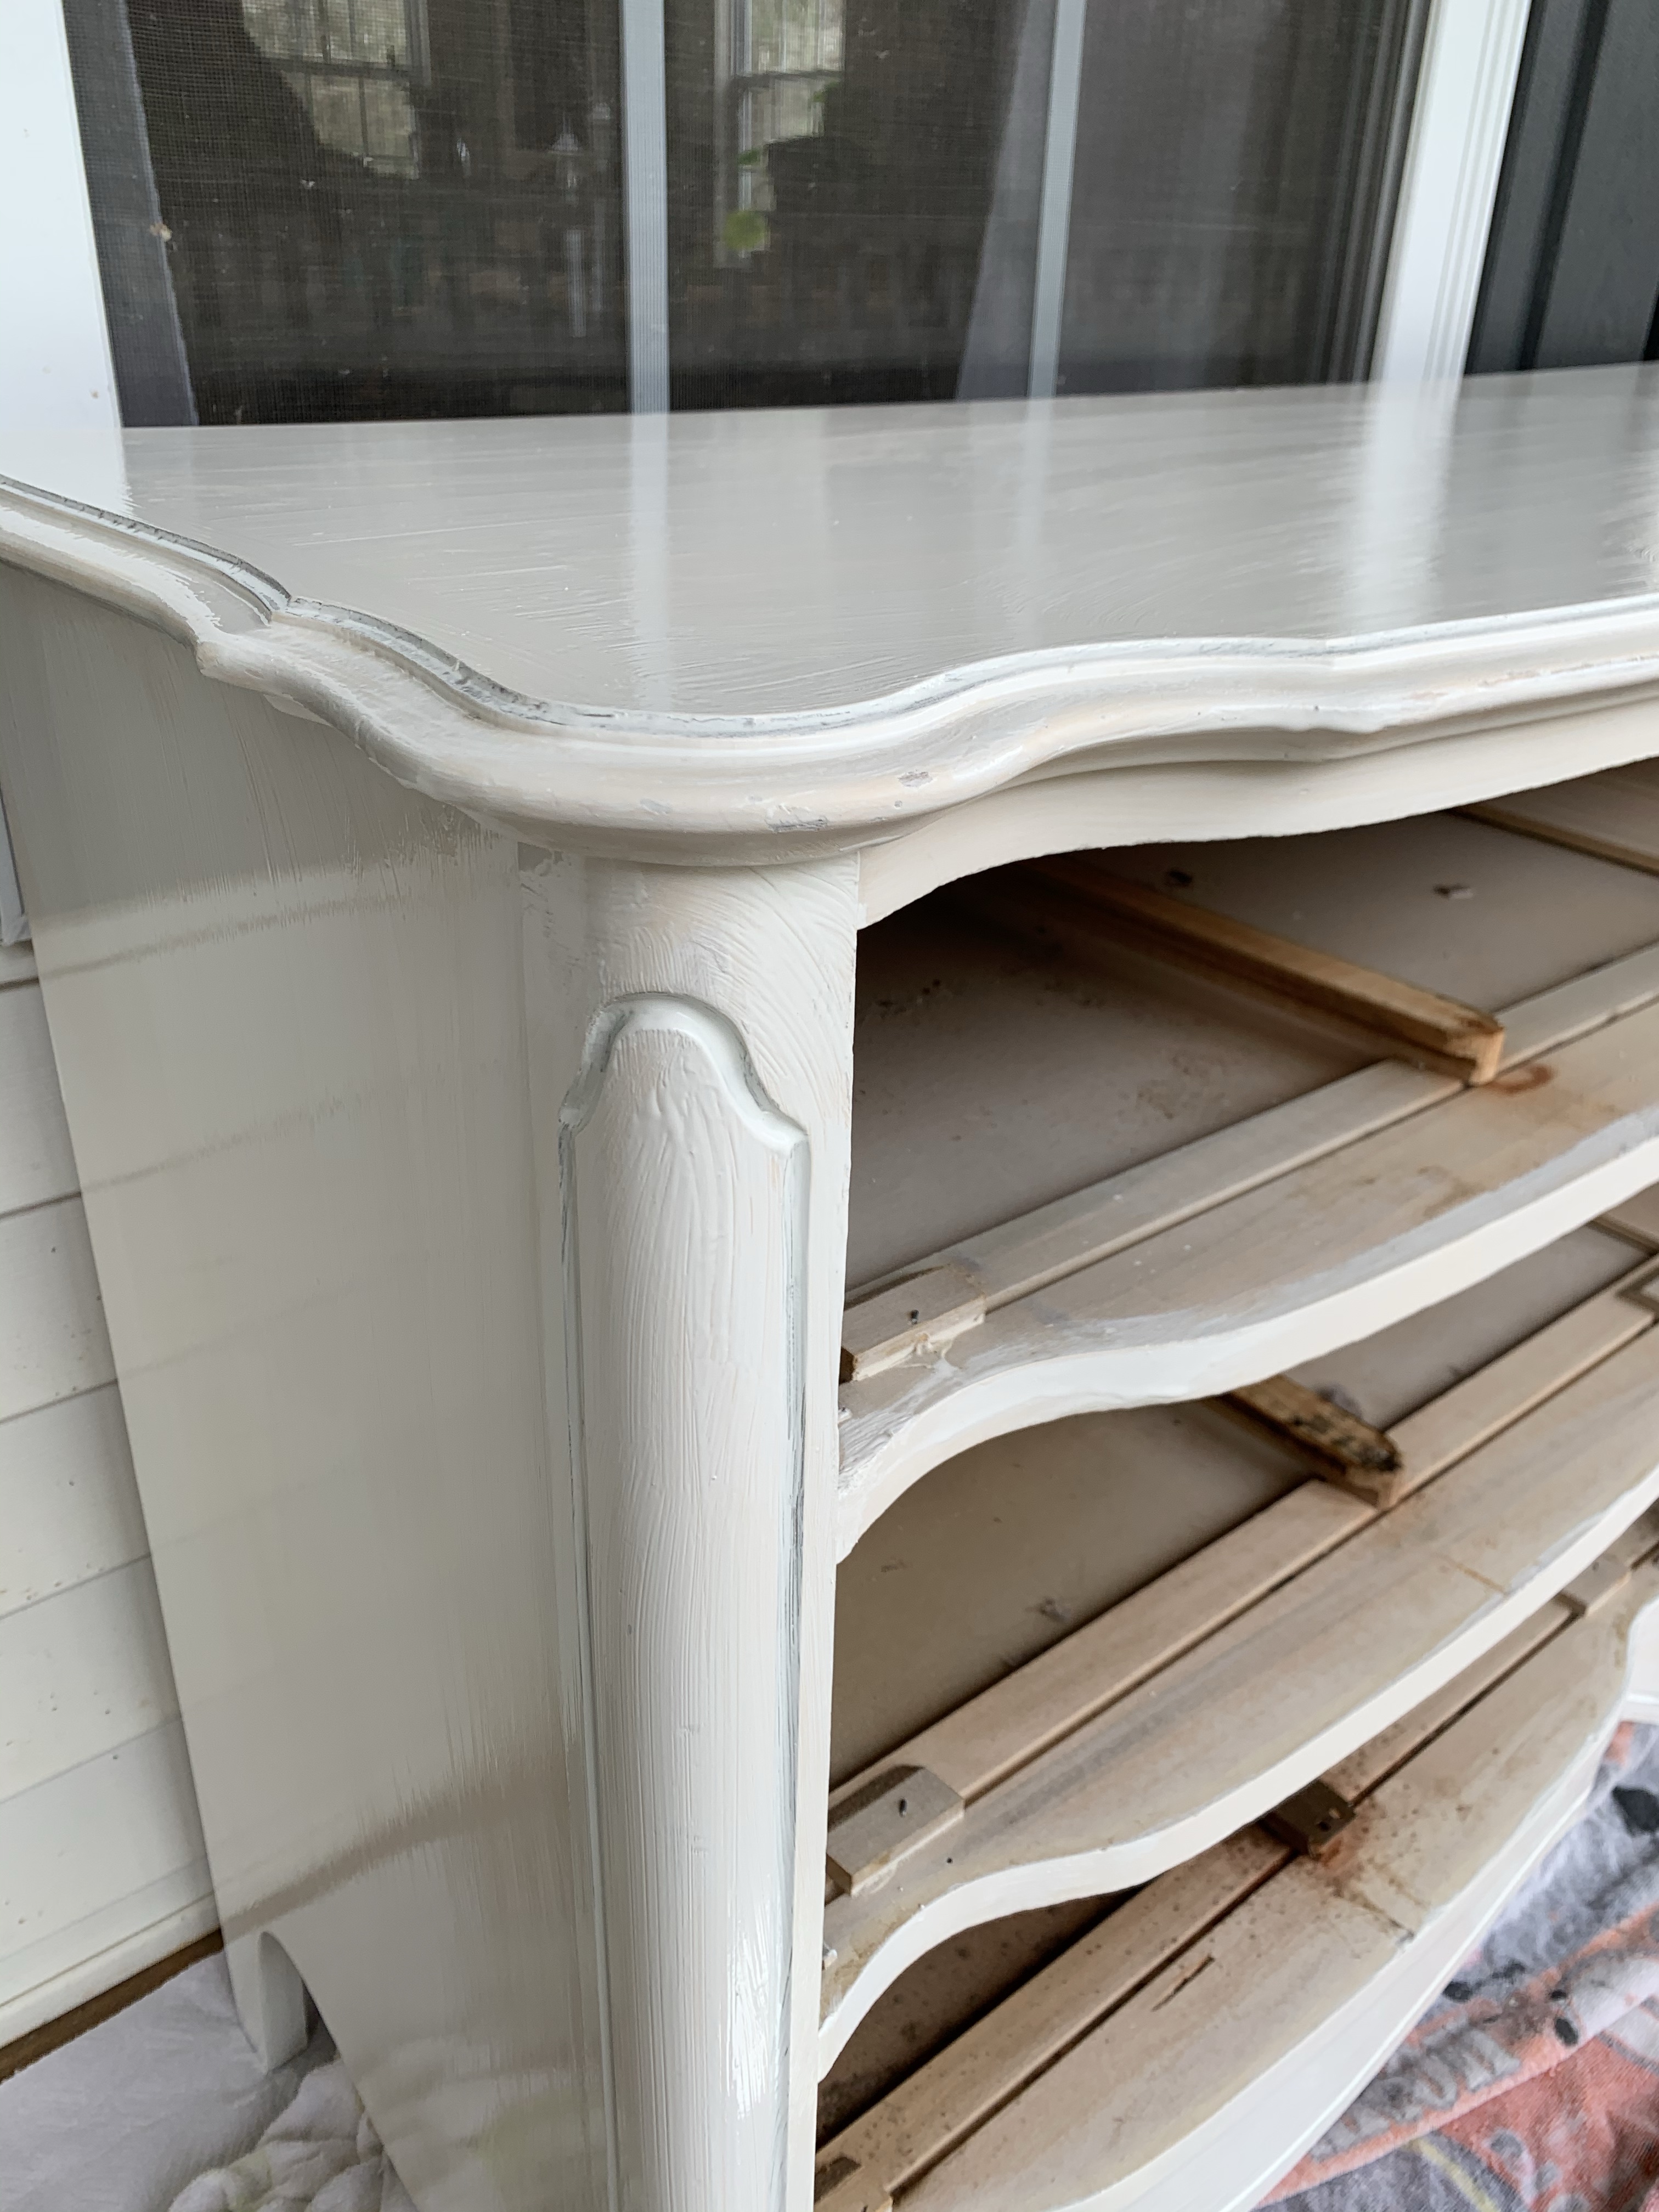

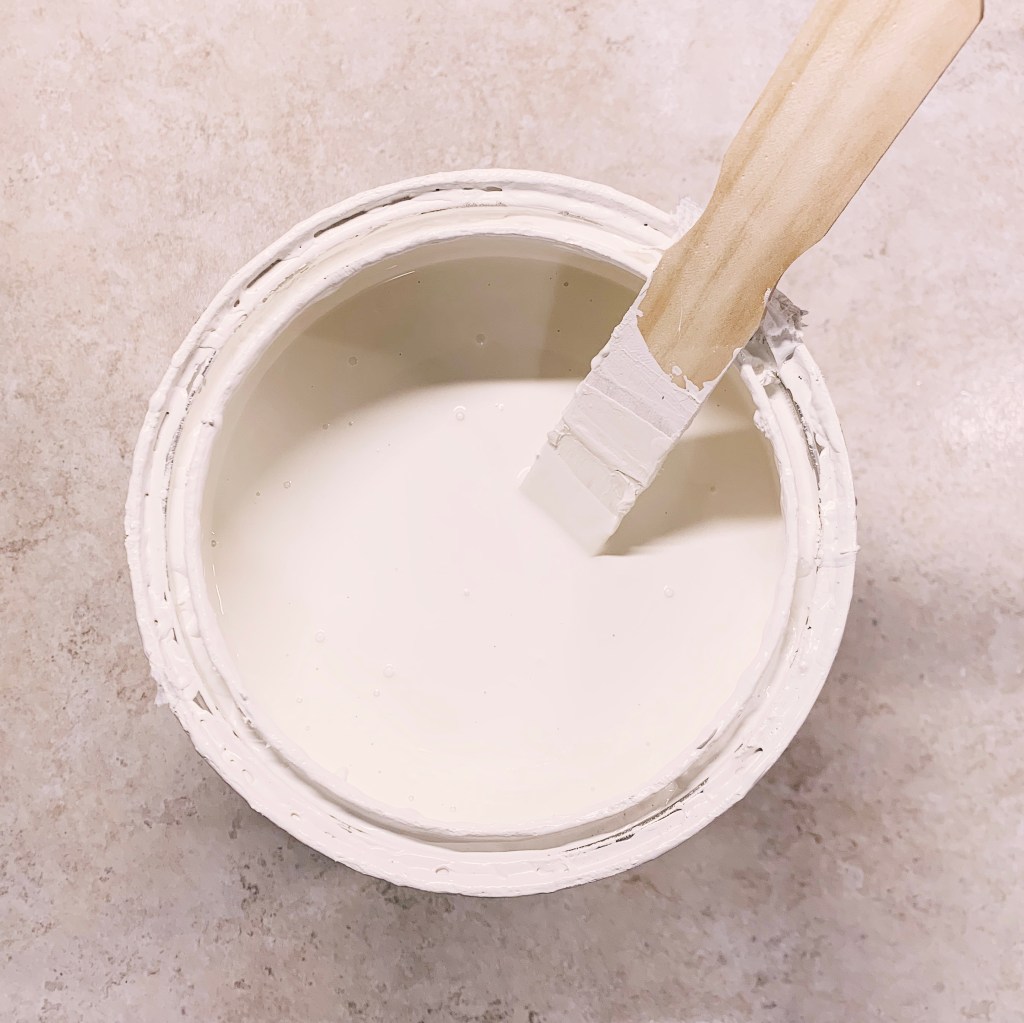
Once that was dry, I started brush painting the dresser then the drawers. The paint I used was Sherwin Williams Swiss Coffee. This is the same paint I used for my kitchen cabinets and was leftover. I’m famous at using things I already have laying around! Be careful that you don’t have any drips. The hardest part was getting into the little crevice that made the unique design on the dresser body.

I let all of this dry for several hours. I put a fan on them to help the drying process.
After everything was dry, I inserted the drawers back into the dresser and brought it in the house to finish setting so that pollen and bugs from outside wouldn’t cover it!

I let it finish drying and setting for several days and then applied a coat of poly to seal it and keep the paint from getting easily damaged.
Finally my new handles came in and I installed those. These came from Amazon! Added some decor and voila! Project complete.

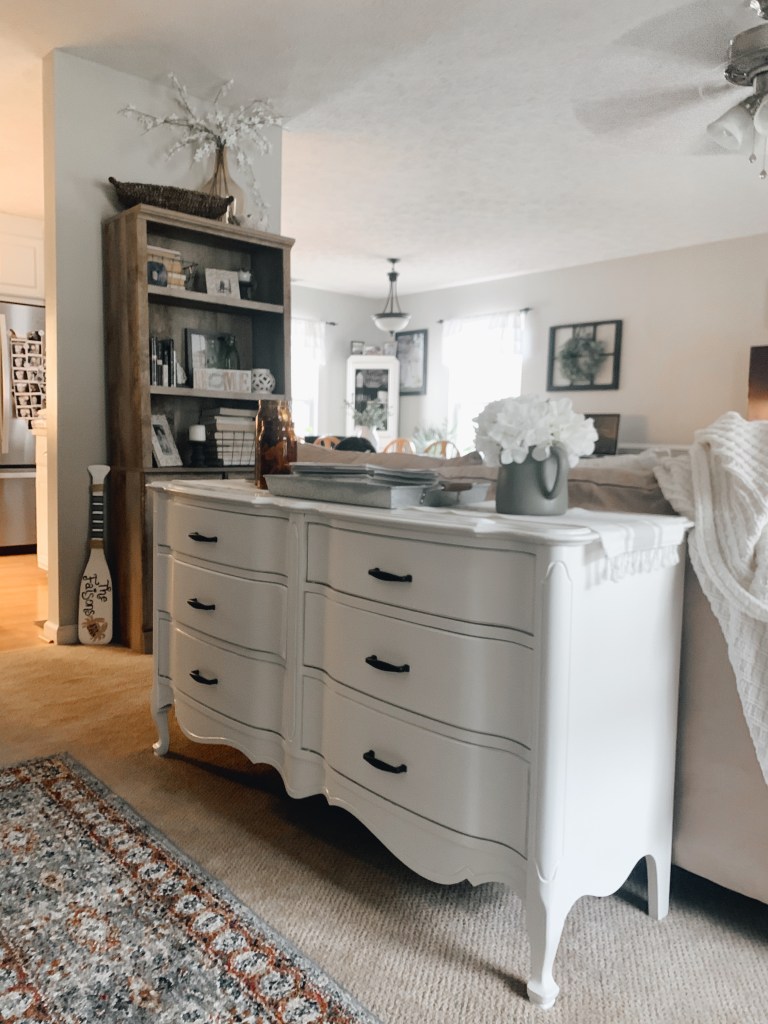
It turned out great and I’m so happy with it! I love having pieces of furniture in our home that are meaningful. This one is definitely full of memories!
What’s your next project?
Xoxo,
MK

Leave a comment